LUMIBRIGHT
LUMI BRICK
Application inspiration · not a project reference
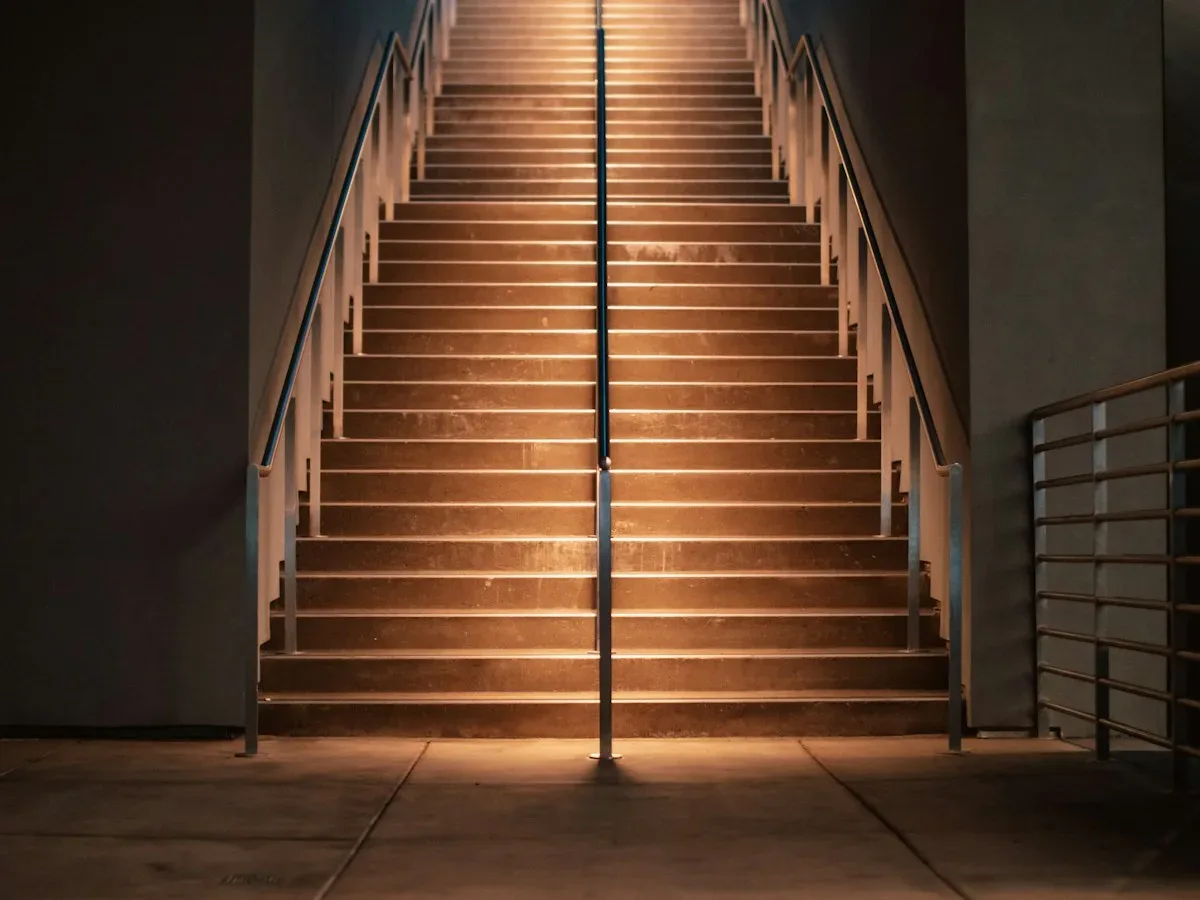
Lumi Brick brings compact lighting into walls, steps and low-level architectural details. Marker and recessed fittings can establish a rhythm along a route or draw attention to changes in level without placing a large luminaire in the space.
BROWSE THIS COLLECTION
BROWSE BY
PRODUCT FAMILY
SERIES & COLLECTIONS
107 product families · Page 2 of 5
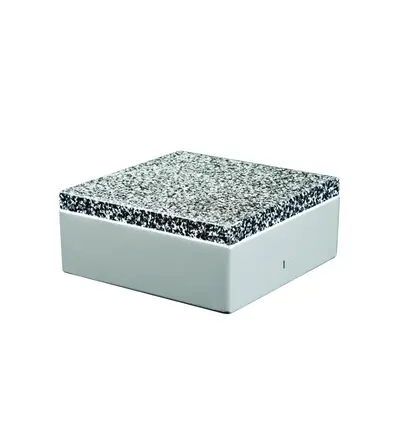
LBK1027
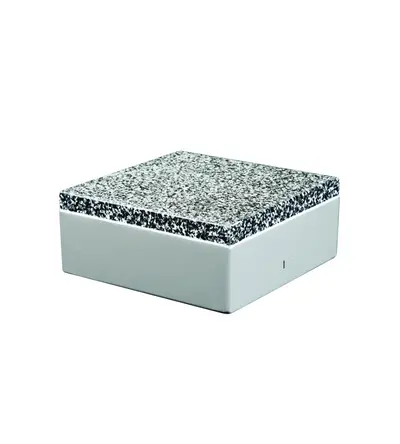
LBK1028
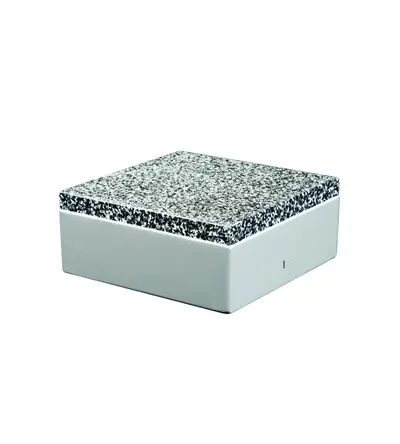
LBK1029
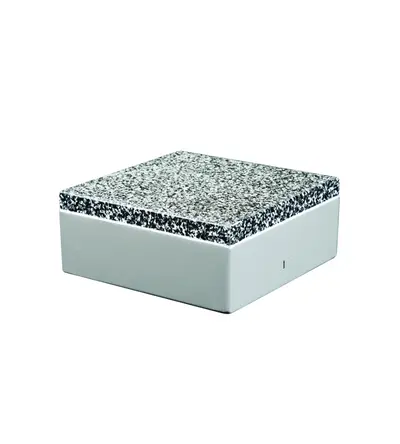
LBK1030
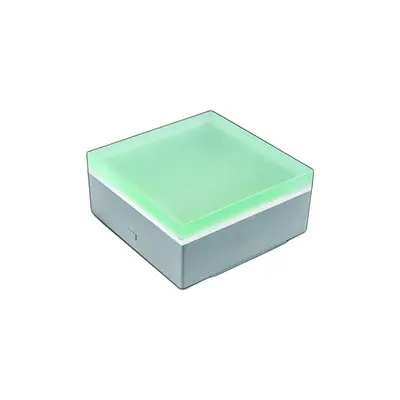
LBK1031
LBK1032
LBK1033
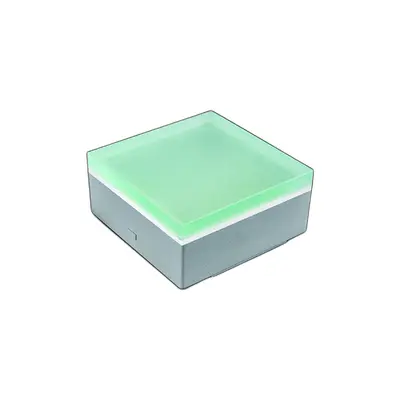
LBK1034
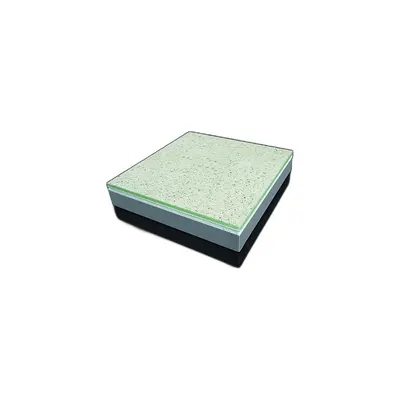
LBK1035
LBK1036

LBK1037
LBK2006
LBK2009
LBK2010
LBK2011
LBK2012
LBK2013
LBK2014
LBK3001
LBK3002
LBK3003
LBK3004
LBK3005
LBK3006
The Range
Lumi Brick — Brick, Step & Marker Lights
Lumi Brick brings compact lighting into walls, steps and low-level architectural details. Marker and recessed fittings can establish a rhythm along a route or draw attention to changes in level without placing a large luminaire in the space. The position of the opening and the relationship to the surrounding material are important parts of the finished result. Coordinate cut-out dimensions, housing depth and any back box before the wall or step is completed. Check the model's light distribution, environmental rating, cable entry and installation requirements. Where foot or vehicle traffic is relevant, request the appropriate load evidence for that exact article. Application photographs illustrate settings and are not proof of product load capacity or installation suitability.
107 product families · 115 articles published with full specifications.
What's in the range
How specifiers choose within this range
Design the opening early
The back box has to be built in, so issue the cut-out and depth to the contractor before the blockwork or decking goes down.
Shield the source
On stairs the aim is to light the tread without glare in the eye — use louvred or asymmetric optics and keep the mounting height low.
Rate for the traffic
Walk-over and drive-over versions differ in load rating and lens thickness; state the traffic type, not just the location.
Choose IP for water
IP65 for walls, IP67 for steps and decks that pond, and check the drainage path behind the box.
Keep colour consistent
Marker runs are seen together in one glance, so hold one CCT and one batch across the whole flight or walkway.
How to specify — in five steps
- Set out positions and issue the cut-out and back-box dimensions.step 1
- Choose walk-over or drive-over per location.step 2
- Pick the optic — symmetric, asymmetric or louvred — for glare control.step 3
- Fix the IP rating and the drainage detail.step 4
- Send the BOQ with the back boxes and any trim rings.step 5
Specifier questions
What cut-out do I give the contractor?+
Each article publishes its cut-out and back-box depth in the specification table; issue those with the setting-out drawing before masonry starts.
Can a brick light be driven over?+
Only the drive-over rated articles — tell us the traffic type and we will confirm the load rating and lens.
How do I stop glare on a staircase?+
Louvred or asymmetric optics mounted at riser level, aimed across the tread, keep the light on the step and the source out of sight.
Are RGBW versions available?+
Several brick and marker families offer colour-changing versions; the article's specification table states the light source and control protocol.